- Transferring Files to a Linux VPS
- Transferring Files to a Windows VPS via. RDP
How to Transfer Files to a Linux VPS
When transferring files between your computer and your VPS, the easiest method is to use a file transfer protocol software with SSH support. We recommend this method for 2 reasons:- It’s a lot harder to make mistakes.
- It’s easier to use a UI with a mouse to move your files than it is to type out commands.
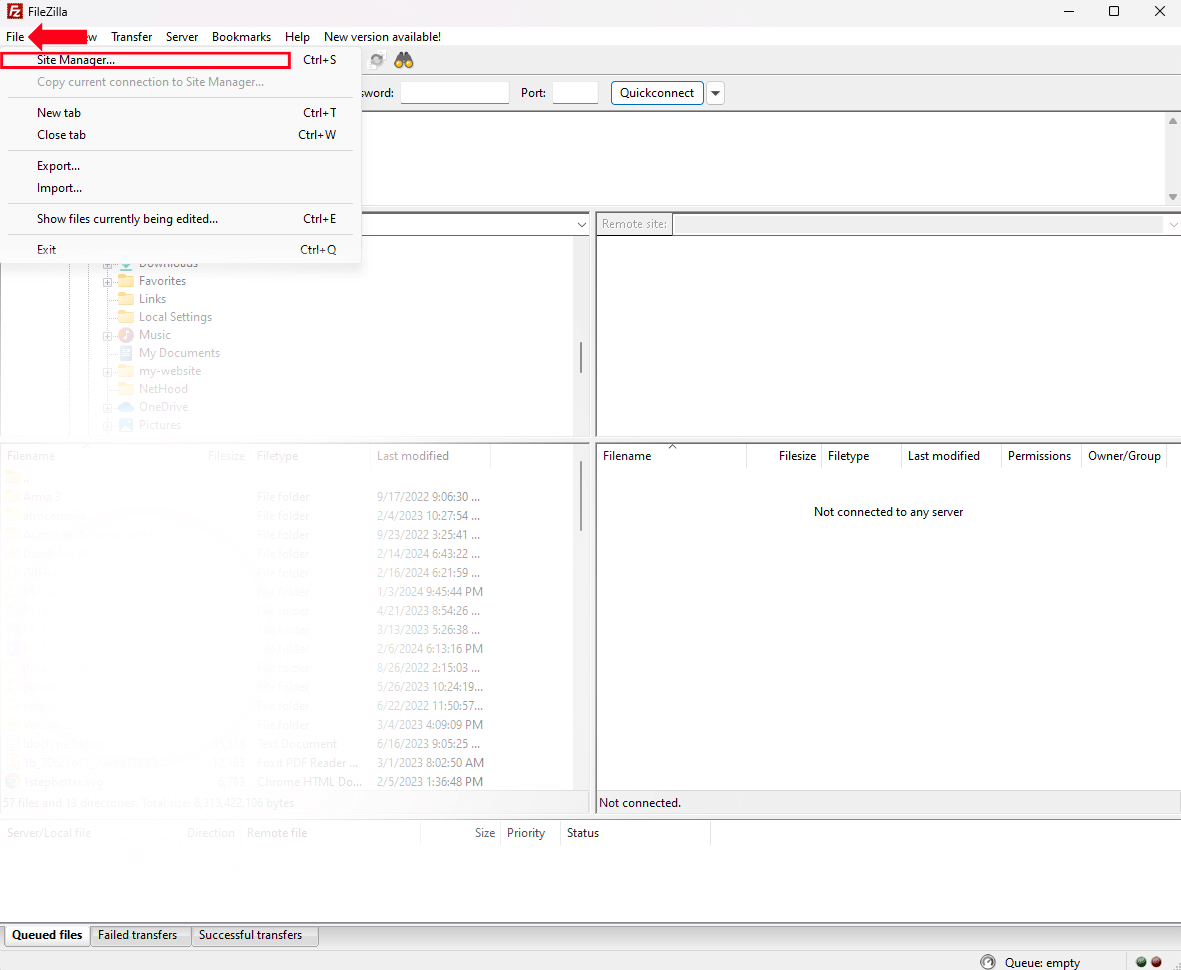
Make sure you download the correct version for your operating system.
Configure your new VPS connection.
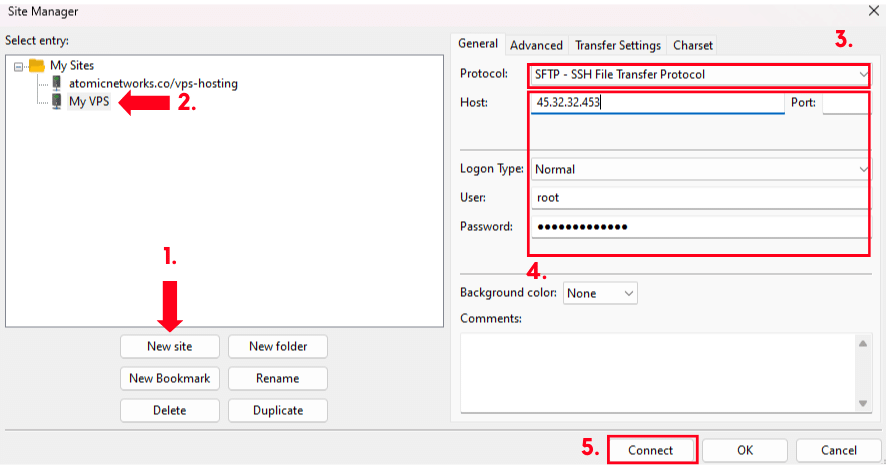
- Click
New Site - Select your new site.
- In the Protocol dropdown menu, select
SFTP - SSH File Transfer Protocol - Enter the information for your VPS.
- Host: Enter the IP Address of your VPS.
- Port: Set to Port
22If you have changed your port assignments, set this to the custom port you have specified for SSH connections. - Logon Type: Set to
Normal - User: The user you would like to connect to. (Example:
root) - Password: The password for the user you would like to connect to.
- Connect to the VPS.
If this is your first time connecting to the VPS, you will see a warning that says “The server’s host key is unknown. You have no guarantee that the server is the computer you think it is.”. Check the box and click
Ok.
How to Transfer Files to a Windows VPS via. RDP
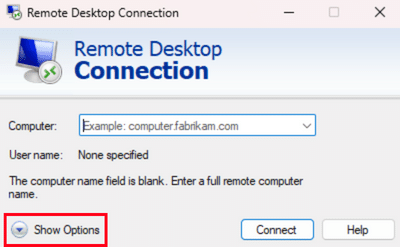
To transfer files through Remote Desktop, follow these steps below.Open Windows Remote Desktop Connection
You can open Windows Remote Desktop Connection by opening the Task Bar and typing “RDP” into search.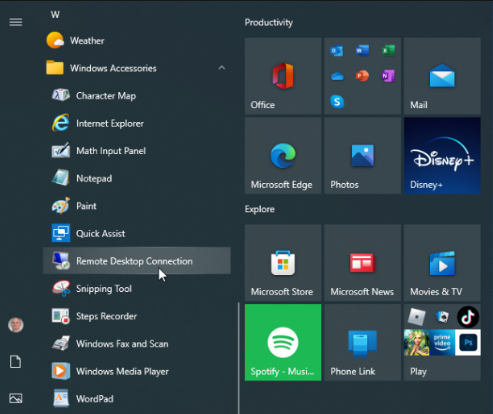

Open the Local Resources Tab
Click the 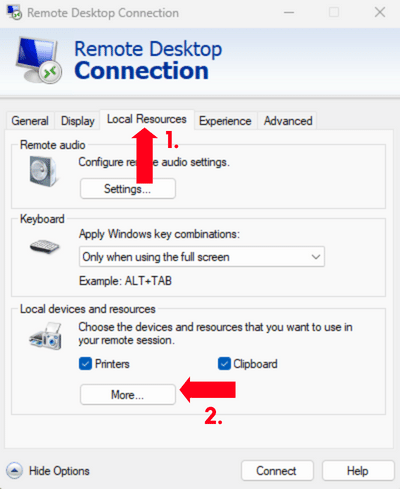
More button shown under the Local Devices and Resources category of the menu.
Select Drives
Pick the drives with the files you want to transfer over to your RDP VPS. Click 
Ok, then connect to the VPS.

