> ## Documentation Index
> Fetch the complete documentation index at: https://docs.atomicnetworks.co/llms.txt
> Use this file to discover all available pages before exploring further.
# How to Add Admin on Rust Server
> Learn about how to add an admin on a Rust Server with this easy to follow guide.
**Last Updated 3/16/24**
Adding admins other than yourself to your Rust server is a smart thing to do. Rust server admins get access to lots of server management commands, such as:
* Kicking and banning players.
* Restarting the server.
* Setting the map weather.
* And way more.
Click [here](https://rust.fandom.com/wiki/Server_Commands) for a comprehensive list of all the possible Rust server admin commands.
## Adding an Admin to Your Rust Server
To add an admin to your Rust server:
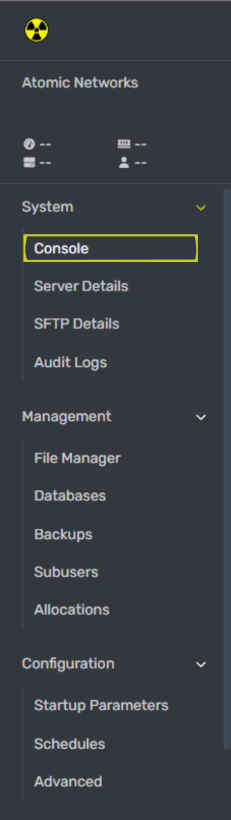
Click [here](https://panel.atomicnetworks.co/login) to navigate to Atomic Panel. You can log in using your account credentials that you received following checkout. The credentials email is sent to the email address on file in the Billing Panel.
If you're not a current Atomic Networks client, [get started on a Rust server](https://atomicnetworks.co/rust-server-hosting) in less than half an hour. If you're already hosting with another Rust service, see [how we offer way more for way less.](https://atomicnetworks.co/rust-server-hosting)
1. Go to [https://steamid.io/](https://steamid.io/)
2. Paste a link to the player's Steam profile. Click `Lookup`.
3. Copy the 17 digit number labeled **steamID64**. This is the ID you'll use to give the player admin permissions.
 Input the command `moderatorid ` where:
* `` = The 17 digit STEAMID64 you gathered in Step 2.
* `` = The name you'd like to assign to the staff member.
If inputted correctly, the player will now have administrative permissions.
This will tell your Rust server to check the config file for your new changes.
## Adding an Owner to Your Rust Server
To add an owner to your Rust server:
Click [here](https://panel.atomicnetworks.co/login) to navigate to Atomic Panel. You can log in using your account credentials that you received following checkout. The credentials email is sent to the email address on file in the Billing Panel.
If you're not a current Atomic Networks client, [get started on a Rust server](https://atomicnetworks.co/rust-server-hosting) in less than half an hour. If you're already hosting with another Rust service, see [how we offer way more for way less.](https://atomicnetworks.co/rust-server-hosting)
1. Go to [https://steamid.io/](https://steamid.io/)
2. Paste a link to the player's Steam profile. Click `Lookup`.
3. Copy the 17 digit number labeled **steamID64**. This is the ID you'll use to give the player admin permissions.
Input the command `ownerid ` where:
* `` = The 17 digit STEAMID64 you gathered in Step 2.
* `` = The name you'd like to assign to the staff member.
If inputted correctly, the player will now have owner permissions.
This will tell your Rust server to check the config file for your new changes.
Congratulations! You have successfully set Admin permissions for your Rust server.
Still having issues? Contact our support at [https://billing.atomicnetworks.co/submitticket.php](https://billing.atomicnetworks.co/submitticket.php)
Input the command `moderatorid ` where:
* `` = The 17 digit STEAMID64 you gathered in Step 2.
* `` = The name you'd like to assign to the staff member.
If inputted correctly, the player will now have administrative permissions.
This will tell your Rust server to check the config file for your new changes.
## Adding an Owner to Your Rust Server
To add an owner to your Rust server:
Click [here](https://panel.atomicnetworks.co/login) to navigate to Atomic Panel. You can log in using your account credentials that you received following checkout. The credentials email is sent to the email address on file in the Billing Panel.
If you're not a current Atomic Networks client, [get started on a Rust server](https://atomicnetworks.co/rust-server-hosting) in less than half an hour. If you're already hosting with another Rust service, see [how we offer way more for way less.](https://atomicnetworks.co/rust-server-hosting)
1. Go to [https://steamid.io/](https://steamid.io/)
2. Paste a link to the player's Steam profile. Click `Lookup`.
3. Copy the 17 digit number labeled **steamID64**. This is the ID you'll use to give the player admin permissions.
Input the command `ownerid ` where:
* `` = The 17 digit STEAMID64 you gathered in Step 2.
* `` = The name you'd like to assign to the staff member.
If inputted correctly, the player will now have owner permissions.
This will tell your Rust server to check the config file for your new changes.
Congratulations! You have successfully set Admin permissions for your Rust server.
Still having issues? Contact our support at [https://billing.atomicnetworks.co/submitticket.php](https://billing.atomicnetworks.co/submitticket.php)